I was discussing this with Natalie and describing the stitches we used when she said she hoped I'd be blogging about them. Hum. So here they are, although the photos were taken with my old camera, hence slightly dodgy focusing. (Everything beyond this point will only make sense if you know how to sew.)
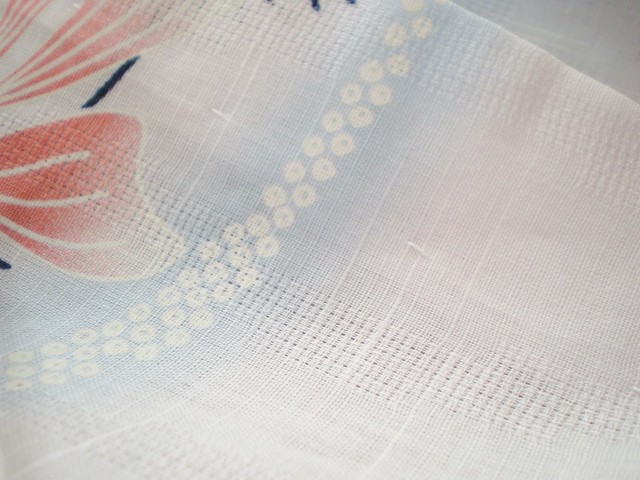
Things to remember while looking at this - the long edges of the fabric are already finished because it is only about 35cm wide (but 12m long) when bought. Therefore there is no chance of these fraying. In addition the fabric is very heavily starched when you buy it so takes a folded crease very well and this also lessens the chance of any fraying while you work on the hems. Lastly, the fabric itself is quite densely woven cotton, so yet again the chance of fraying is minimal.
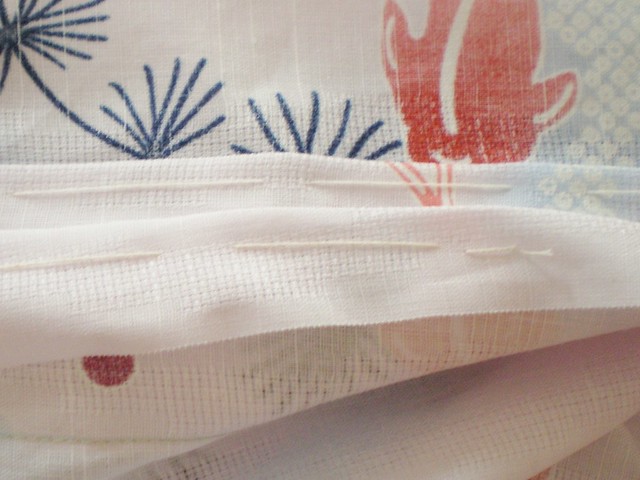
First we have the tacking done by the teacher.
Fairly standard and used a cream version of the white thread we were all using - a 30wt or 30/3 cotton.
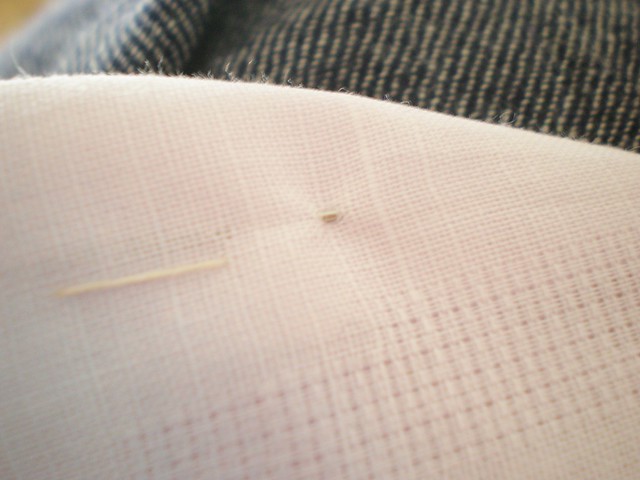
The Sensai (just like Karate Kid) taught us two stitches - one for finishing hems and one for hemming edges. The seams around the arm holes on the sleeve and the bottom hem were done with the latter, which looks like this on the outside (I've left the needle in so you can see the stitch):
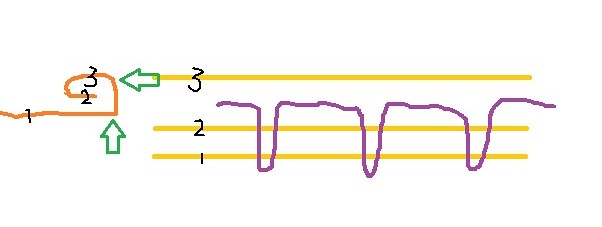
- but cannot be seen at all on the inside. I've tried to draw a diagram showing how it works, but don't laugh.
Once you've stopped laughing, you'll realise that 1 is the 'main' piece of cloth and 2 and 3 are the layers of cloth you get when you fold it at the hemline in the two places shown by the green arrows. So it's folded over twice to give a neat hem - nothing unusual there. What is unusual though is you get no sign of any stitching on the inner edge - above layer 3 in the diagram. The only sign of stitching you get is on the outside - below layer 1 in the diagram. Hence you get what you see in the photo above.
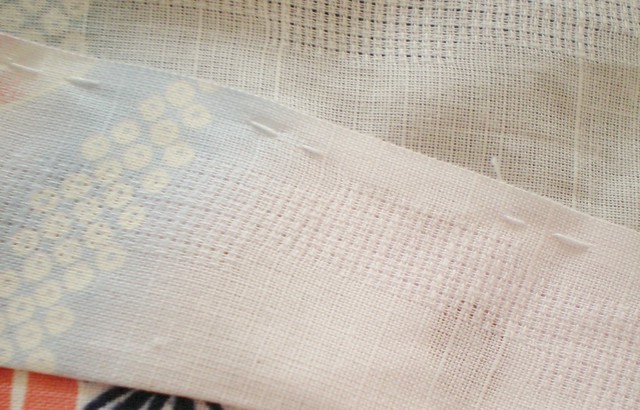
The second stitch is worked on the long seams and is essentially just to make them look neat and fasten them down since the edge of the fabric is already finished. This stitch is visible on both the inside and outside of the garment. Inside first:
And outside:
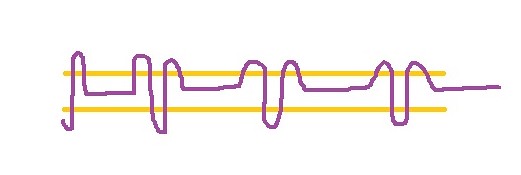
And the comedy diagram:
I did ask why the stitches were visible on the outside - they can be done much more subtly than this - but the teacher essentially said that this is the way Yukata are made so this is how we do it.
It has been really fascinating watching the teacher and her helpers work and seeing how a traditional garment is sewn. I want to incorporate some of the techniques in the Sashiko Jacket I have planned which I got the fabric for from Nippori last week, when I took the photos for that blogpost.
One more class is needed before it is finished but I will be taking lots of photos of the finished project and there is one more thing I need to cover - the enclosing of the long seams by folding. The final class isn't for another 2 weeks but as soon as I can I will show it off to you all!

No comments:
Post a Comment