Many thanks to Marlene at
Stitchin by the Lake and Madame Samm for organising another lovely hop. This one is different as it involves a present! The idea was to make something that would only take an hour or two but I suspect from what I've seen so far most people took somewhat longer to make something gift-worthy. I know my gifter did - amazing!
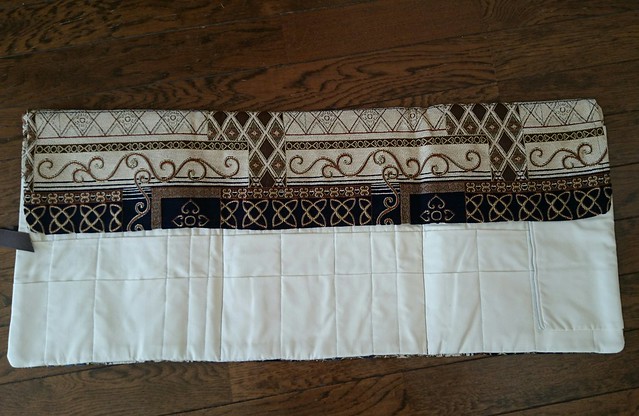
Isn't it beautiful! It makes me think of something a knitting professor would carry into their lecture hall and put on the desk before beginning today's lecture on advanced cabling.
It is also huge - tonnes of pockets for my vast collection of straight needles and notions.
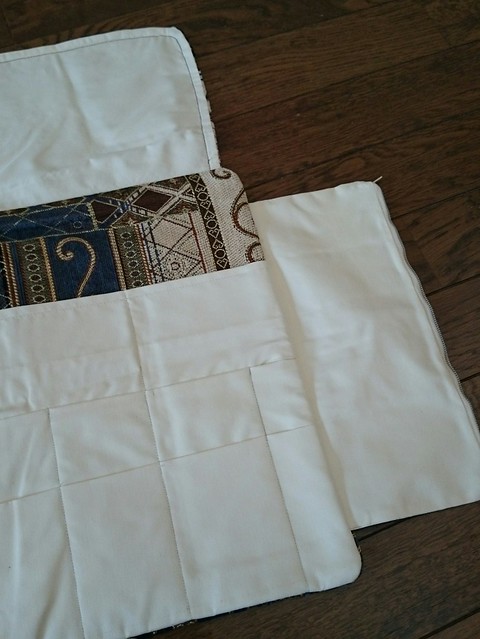
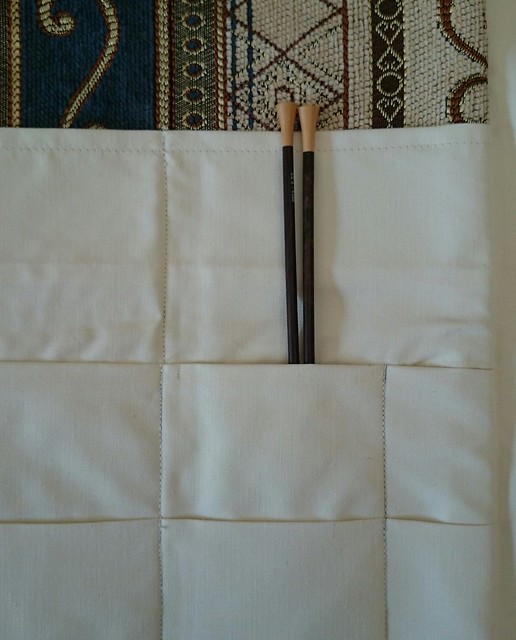
It has this lovely big pocket for those notions. Sadly I only have one pair of straights with me in japan - the rest are safely stored at my Mum's. However, they are now the most secure and snuggly pair of straights in the world! And they will be joined by their brethren next month.
Thank you so much to the lovely
Lakeshore Stitches for such a wonderful gift!
I was sending to
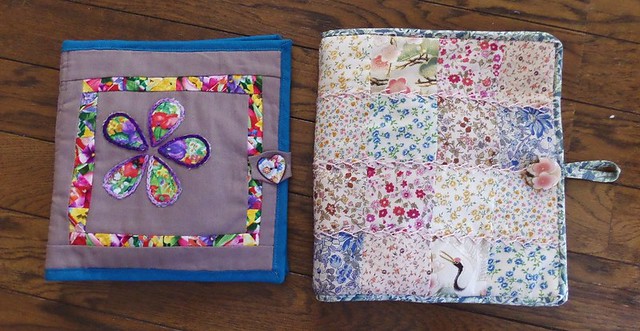
Cucki Stitching Cove and as soon as I started reading her blog I could see that embroidery was a big part of her life. I knew what I was going to make her - a Travelling Embroidery Wallet from the book
Patchwork Please. I have already made two of these - one for me (left) and one for my Mum (right) - and I use mine constantly.
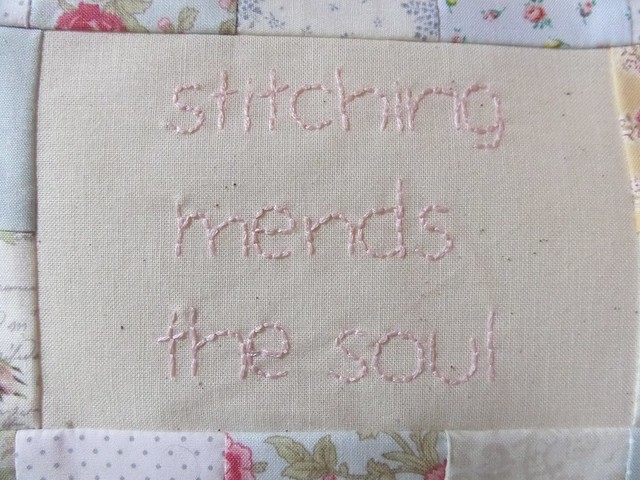
I could see Cucki favoured a delicate colour scheme so I got out some pieces of pastelish flowers and some linen. I also wanted to personalise it so I added a stitched quote from Cucki's blog.
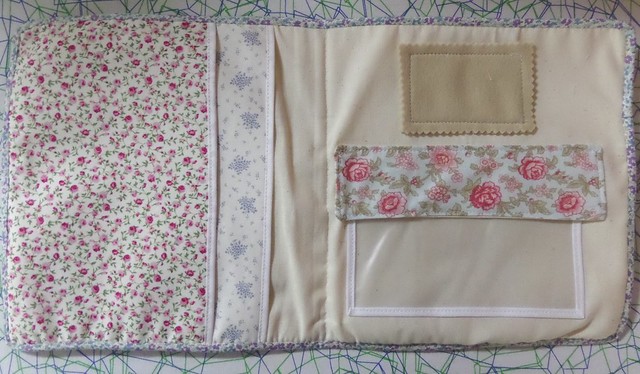
I also kept with my signature could-not-make-points-meet-if-her-life-depended-on-it style of construction. Plus I avoided right angles apparently on purpose judging by my success.
So not exactly a gift that can be made in an hour or two - but one I recommend for an embroiderer.
I did make another little gift for someone else, and this is a good present for any kind of needle user (up to a point anyway) ("point" ha! it's the way I tell'em).
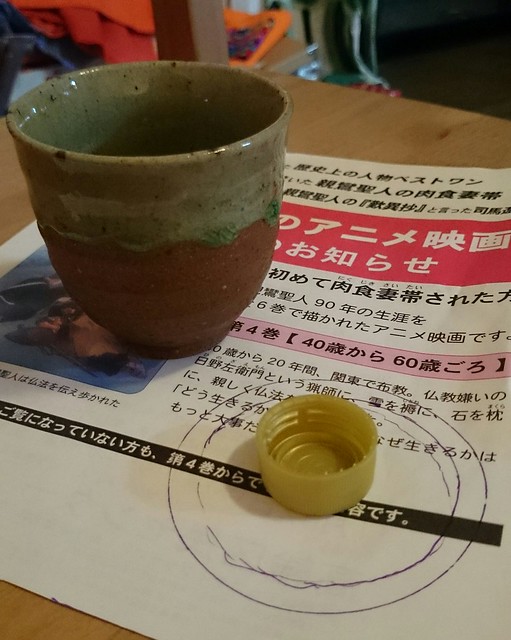
I got given the one on the right by a Japanese stitcher and had been meaning to make one for a friend for ages. This is also a recycling project AND a great way to use up scraps. That's ticking a lot of boxes! You just need the top from a plastic bottle, three circles of fabric roughly 15cm across, some scrap paper the same size and something round to draw around. Those of you who are regular readers will no I have no shame and frequently show dud projects. This one isn't that bad but I will point out my deliberate errors - made so that you don't have to.
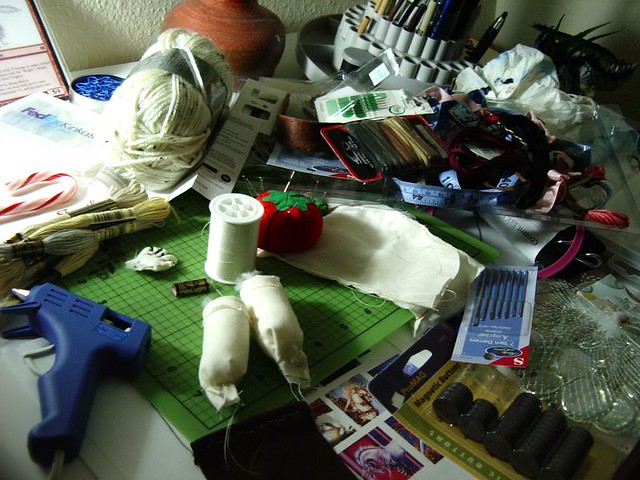
Gather your materials.
The thing you draw around needs to be the width of your bottle top plus the height. For me this came out at about 6cm (the Japanese only use metric units) but my cup was a bit bigger than this. So I drew around it and then sketched a smaller circle inside. Then I added a larger circle outside for the distance I wanted my petals to stick out plus a bit of seam allowance. The clever among you will be using a compass for this. However, I was too busy deciding my petals should be bigger than I should have gone for. I'll discuss this more at the end.
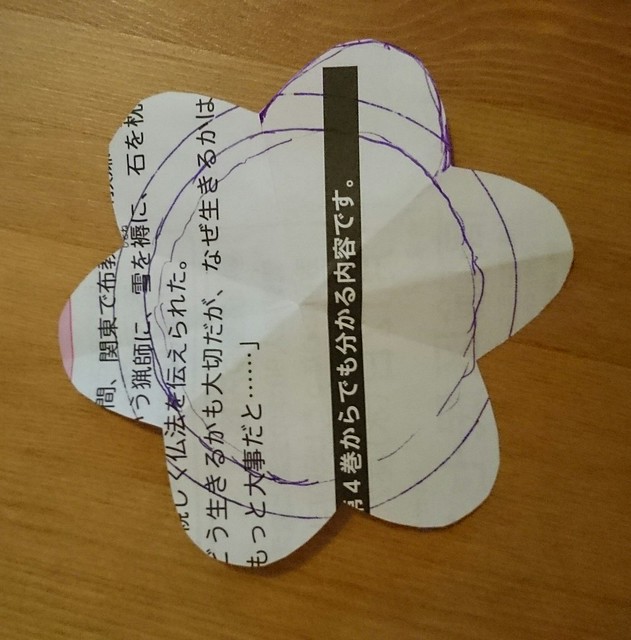
I cut out the circle and folded it into six segments.
I also drew the outline of my petal on it and then cut this out while it was still folded up.
I then forgot to take any more photos for a while. But...
- Use the paper template to cut two of these shapes from two fabrics.
- Sew them together, right sides facing, ALL the way around the outside, using your own seam allowance.
- Now cut a line in the centre of the fabric that will be on the inside of your petals and turn the whole shape inside out through this hole. You do not need to sew it closed as it will be glued to the underneath of the bottle top.
- Press and, if you want to, sew a line of stitching around the edge of the flower shape.
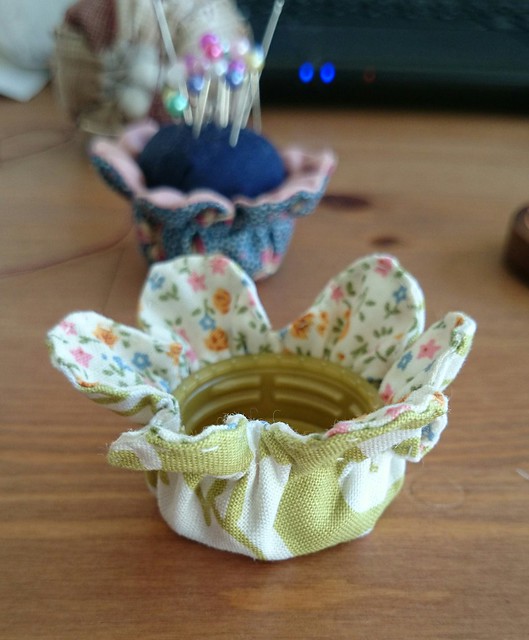
- Using doubled thread, sew a line of running stitch where the top of the bottle top will be once this is gathered.
- Gather the thread until your bottle top fits snugly inside the flower.
At this point I remembered this was supposed to be a tutorial.
Do not tie off your gathered stitches. First apply a thin layer of glue to the outer edge of the bottle top, where your gathered fabric will meet it. Then sit your bottle top inside the flower, finish gathering your stitches, tie the thread off and ensure the gathers are evenly spread around the top.
Kind of.
Now the final step - you need another circle the same size as your original one. Sew another row of gather stitches around the edge and gather, adding a ball of stuffing to the middle.
Tie off the gather and add a thin layer of glue to the inner rim of your bottle top. Pop the stuffed ball you've just made inside and leave to one side for the glue to dry.
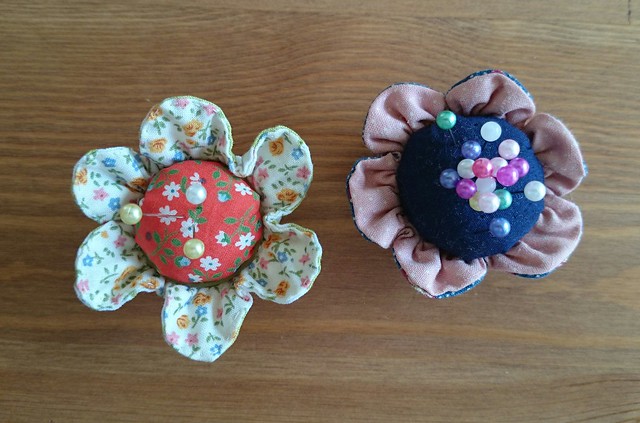
Ta da!
Now for the mistakes:
1. My petals were too big. More modest ones reduce the amount of ruffle. I know Madame Samm likes it but you just want a ripple here, not full on ruffle.
2. My stitches for the gather of the flower piece were possibly too small. Larger stitches make the ruffling into a subtler affair.
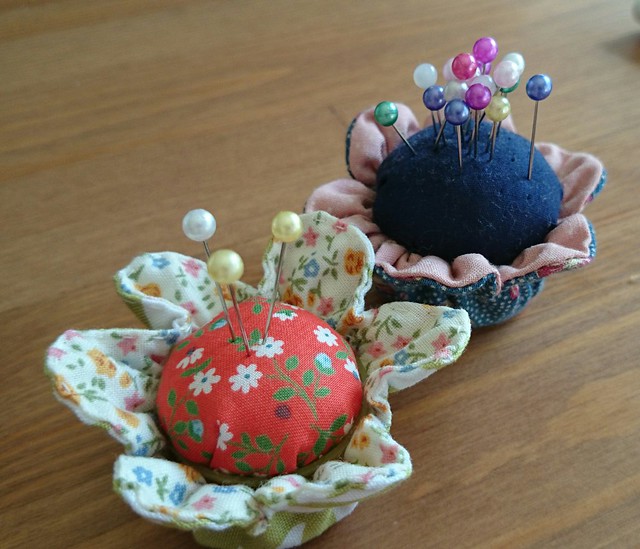
3. My gathering of the flower shape and adding of the centre left the rim of the bottle top exposed.
It could have been worse, but in retrospect if I had moved those gathering stitches up a few mm it would have gathered just above the rim and hidden it from view.
Despite these points I am very happy with my pin cushion!
I hope you are enjoying the blog hop. You can find the
full schedule here but please make sure you visit my fellow hoppers from today:
Monday, Nov. 17