Saturday 30 May 2015

Exploring Treasure Island

The Treasure Island Flea Market is a well known event here in SF and this weekend was the fourth anniversary one. I had been meaning to go since we arrived here so thought today was as good a time as any. Slightly better in fact - Pooch rather over exerted himself the previous night and was groaning in bed and there's only so long that remains amusing for.
treasure island google map
Treasure Island is in the middle of the two halves of the Bay Bridge and a has a smattering of houses but during the last weekend of the month people and cars flock in in their thousands just for the Flea. The emphasis is on handmade things and twentieth century schmatter.
Mannequin Heads
Letterpress Letters
Hanging Air Plants
Vintage Frames
As well as the stalls there was a big food truck area with about twenty different trucks.
Food Court
My creation
There was a lovely view while I scoffed down my whateveritwas.
San Francisco
Then back into the fray.
My creation
One of the things that did tempt me was a Virgin Mark bust.
Busts of Virgin Mary
But I was slightly put off when I realised that that is an ornate leather gun holster they are arranged among. Plus I didn't get "a feeling of joy" when I picked each one up - something not attributed to holy-poly but more to "The Life Changing Magic of Tidying-Up" which I have been listening to recently as an audio book. Very interesting stuff. The only things that did come back with me, which I do find very joyful, were some little succulents from this stall.
Succulents

I have some crafty updates to share tomorrow and also some big news that will seriously curtail my crafting time. So I had better go and get on with it while I can!


Tuesday 26 May 2015

And Now For Something Completely Different

I am not a cosplayer. Except for this one time a few months ago for a party...
Me in my Star Trek Costume
However, I am known as a stitcher. The Burning Man's French Quarter Collective has me involved in their sewing group and various discussions have seen me turn this...
Regency Coat Before
...into this.
Regency Coat After
I am not sure how much of the theme is being made public before time so suffice to say there is a Regency style to the clothing. I am busily finishing a tutorial on how to do it yourself including a no-sew option for those who prefer good ol'glue.

The original coat was $11 in a thrift shop plus about $6 for two packs of gold bias binding. I was wondering whether to do some more and sell them on Etsy but you never really know whether this stuff will sell. And how much should be charged? Being second hand the coat wasn't in A1 condition to start with - more like B2 - but it is definitely good enough for a couple of weeks in the desert. It gets very cold at night, so they tell me.


Sunday 24 May 2015

Machine Quilting Practice

I happened across this pin the other day:
gadget
It was one of those moments when you see something - especially something that would look fairly ridiculous to the uninitiated - and think "bugger me, that's a good idea". I had recently attempted to enter the world of freehand machine quilting and the results had not been stunning. It's all very well to practice doodling but the motion with your hands when you're machine quilting are those shown in the pin - it's not like you're holding the needle at all. That pin leads to this website which offers one of these gadgets for $39 which is not a bad price but I thought I could possibly do one with plumbing supplies. PVC pipe and two elbows, I thought, having just looked up what those things that aren't really called "pipe bends" are called. Not knowing where to get plumbing supplies from in person I set off for Scrap - confident they would be able to do me right.

It is a strange sensation, to be wandering around a warehouse of scrap, looking for something that either is or could be used as "bends". In the end I found these.
Making a gadget to practice machine quilting with
I *think* the fatal looking things are something to do with firing ceramics - holding the item up off the kiln shelf while it bakes. Those little spikes were certainly sharp. The tube is cardboard. A glue gun later and...
a gadget to practice machine quilting with
I added extra glue to the little spikes to make them less tetanus-y. Plus some more to the two feet of the ceramic things to give them some grip on the table top. I then taped a biro to the middle and ta da!
Practicing machine quilting
As you can see from the paper, there has been no instant improvement, although actually I have gained confidence and I have improved in my latest batch of squares.
Machine quilting
Yeah, you can really see the quilting in that photo. You'll just have to take my word for it.

The quilt itself  is for the Hands2Help initiative and the deadline for the drive is rapidly approaching. I'm using the method covered in the Craftsy course I've taken where you make the units and them join them later with strips. It means you can go in for some heavy quilting without needing a Long Arm machine.


Wednesday 20 May 2015

How to Dissect a Shirt to Reuse the Fabric

I have been planning a quilt using blue shirt fabric from thrifted men's shirts. I love the softness of the often well-worn 100% cotton shirts. I have also seen them used in memorial quilts - made from the clothes of a loved one who has passed away.

Since I have been doing this with a series of shirts I thought I'd write a tutorial on the dissection process.
How to Dissect and Shirt for Fabric Tutorial

First, a word on choosing your shirts. I am lucky because San Francisco has a number of cheap thrift stores so shirts can be easily had for $2-3, sometimes just 99 cents! My favourite thrift shop - Thrift Town - even has sales and daily discounts as well as a loyalty scheme! When faced with a selection of shirts...

  • Make a beeline for the end of the display that has the long sleeved shirts in the largest sizes - a 3X shirt is going to give you more fabric than a XS.  
  • Once you find a shirt you like the look of pull it clear of the rack and check the label to see what it is made of. You might be fine with a cotton/poly mix but usually for quilts you want 100% cotton. 
  • Now check the armpits and front for staining. If the front has stains on you may want to just put it back straight away and move on. If it's one small stain and you really like the fabric then check the rest of the shirt for marks and as long as it is OK add it to your basket. Surprised I'm not telling you to check the collar and cuffs? We will be discarding them all together so don't worry about them - although if they are really nasty it's a good sign that you need to thoroughly check the rest for stains. 
  • Next move on through the smaller sizes. If your thrift shop has separated them and you see a short-sleeved shirt you really like then go through the same process with them - but remember that short sleeves will give you roughly a FQ less fabric than long sleeves. 

When you get home, start off with giving the shirts a good wash with your usual detergent. Once they are dry it is up to you whether you want to iron them or not. I tend not to as the flat pieces of fabric are much easier to iron once you have them chopped up. Now we're ready to start!

  • Lay your shirt out face up and hold your scissors firmly. Mine are spring-loaded so they open automatically. So much easier! Starting to the right of the button band, cut just to the right of the seam. 
SAM_3647
  • Keep cutting along this line until you reach the collar. Just before the first seam of the collar change direction and cut around this line.    
SAM_3648
  • Once you have cut around the base of the collar you will find yourself on the button side of the button band. Change direction again and cut down alongside the seam of the button band. 
SAM_3650
  • This will leave you with some of your first scraps to throw away or reuse as stuffing. As a button addict I can't let myself throw away buttons, even very plain white ones, so I use a seam ripper to take them all off. 
SAM_3651
  • Now move to the right side of the shirt and find the side seam. Start cutting just to the left of the seam. 
SAM_3653
  • When you reach the armhole, as with the collar, change direction and cut to the left of the armhole seam. If your armhole has staining, you should cut around it now. 
SAM_3655
  • When you get to the shoulder seam change direction again and cut just below it until you reach the neck. 
SAM_3656
  • You have almost finished your first piece but first there is that bottom seam. My shirt had some shaping to round the bottom of the shirt where the front and back join together. I cut around this. Other shirts may have straight bottom edges. 
SAM_3658
  • Once that bottom seam is off you have your first piece! You'll notice that I've left the pocket in place. I've seen a number of quilts - especially memory ones - that leave the pockets on as a feature. I rather like this idea so I've left mine but you can always unpick or cut around them if you have one on your shirt.  
SAM_3660
  • You can now repeat the steps above for the left front. On my shirt there was a small oil mark on this side so I marked that with a pin to make sure I didn't forget about it. 
SAM_3673
  • I cut it out leaving me with a small hole towards the bottom. 
SAM_3674
  • With both fronts dealt with return to the rest of the shirt and finish removing that right sleeve, continuing to cut to the left of the seam. 
SAM_3662

  • That will leave you with a complete sleeve and your first step is to tackle that seam around the top end. 
SAM_3663
  • Cut the seam off just to the right os the stitching. Once that is done start cutting to the right of the sleeve seam, all the way down to the cuff. You are going to throw the cuff away (they are usually very worn, as is the collar) so you can cut straight through it. 
SAM_3666
  • Cut down the side of the seam still attached and discard that. Next cut straight across the cuff and discard that too. 
SAM_3669
  • You can also cut around the cuff placket and discard that, saving the button. You may choose to keep it and sew it up to provide a more continuous length of fabric, using it as a design feature.
SAM_3671
  • The final piece to tackle is the back. The shoulder seams need removing, cutting just underneath them. 
SAM_3677
  • In some shirts the back piece is divided into a top and bottom section with the top being a double thickness. While this reduces the overall size of the back piece it results in an extra piece of fabric. Some shirts may have a pleat or several pleats in the lower of the back pieces, where it joins the top piece. If your shirt is like mine and has this divide in the back pieces, cut just underneath the seam, all the way across and across any pleats that might be there. 
SAM_3680
  • Cut just above the seam of this top section - it may feel like you are cutting through extra layers of fabric but don't worry about this. This will result in two separable pieces of fabric. 
SAM_3682
  • In a well made or older shirt you may need to pull away some seam allowance from between the two pieces - you can discard this. In my shirt there wasn't enough seam allowance to show so I just gave it a shake and few wisps fell out. One of the pieces may have a label attached. You could unpick this, or leave it there, but I tend to cut them out and keep them as a guide to which fabric comes from which shirt manufacturer. 
SAM_3683
  • This will leave you with just the bottom section of the back of the shirt which should now just need the bottom hem removing. If there were pleats then it is possible you may have a small seam to unpick in the centre of each pleat. 
  • And there you go! You should now have a pile of fabric sections and a pile of scrap.
SAM_3686

I hope you find this useful! Feel free to add it to Pinterest if you think you might need it in the future. 
How to Dissect and Shirt for Fabric Tutorial

Monday 18 May 2015

My First Maker Faire

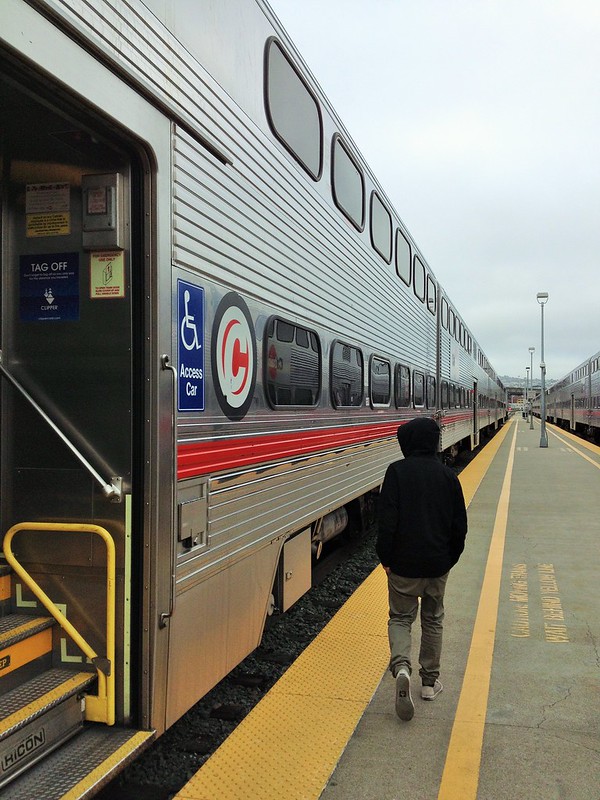
My first (but definitely not my last) Maker Faire took place last weekend in San Mateo - about half an hour's ride on the double-decker Caltrain south of San Francisco.
Caltrain
I don't think any of my photos do justice to the scale of the event - it was epic, covering several football fields, with huge indoor arenas like aircraft sheds and thousands of people of all ages darting hither and thither. I had volunteered for a five hour shift in the middle of the day (which I spent in the Media Lounge answering important media enquiries like "Where are the toilets?") but for the rest of the time I was out there talking to Makers. The full 59 photos can be seen on Flickr here so these are just the edited highlights.

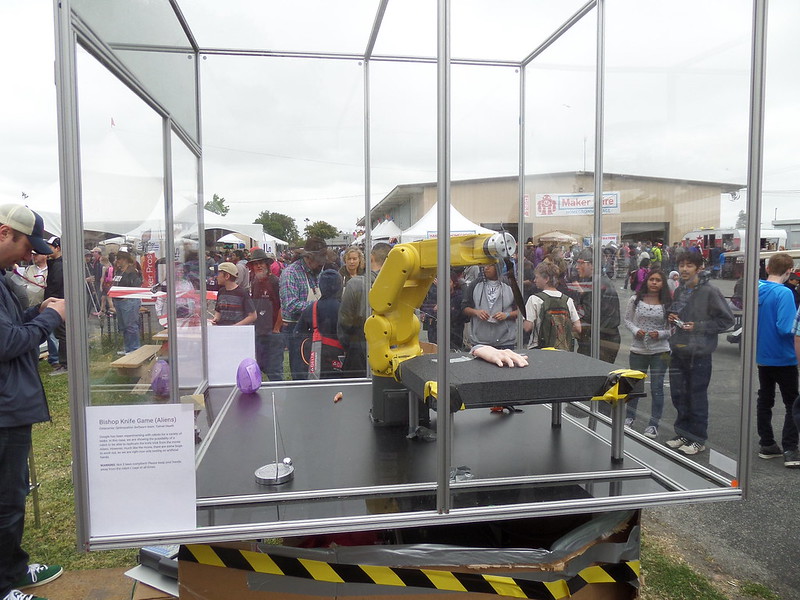
There was an excellent mix of big name and kitchen table set-ups exhibiting and interacting with people. Google had a big presence and either they or Intel had things like this set up.
Robotic knife game
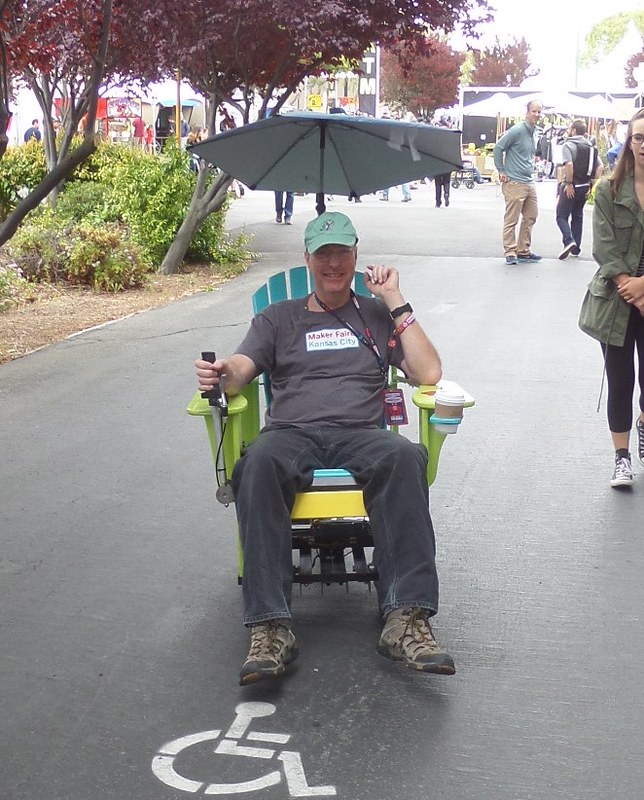
It's a robotic version of that pub trick where you stab a knife quickly in the spaces between your fingers and not into the fingers themselves. The gore-laden additional fingers lying in the bottom of the container were a nice touch. Then again there were the people who were creating for fun's sake. This guy had turned a deck chair and brolly into a moterized conveyance and was happily touring the site at impressive speed.
Mechanised sun lounger
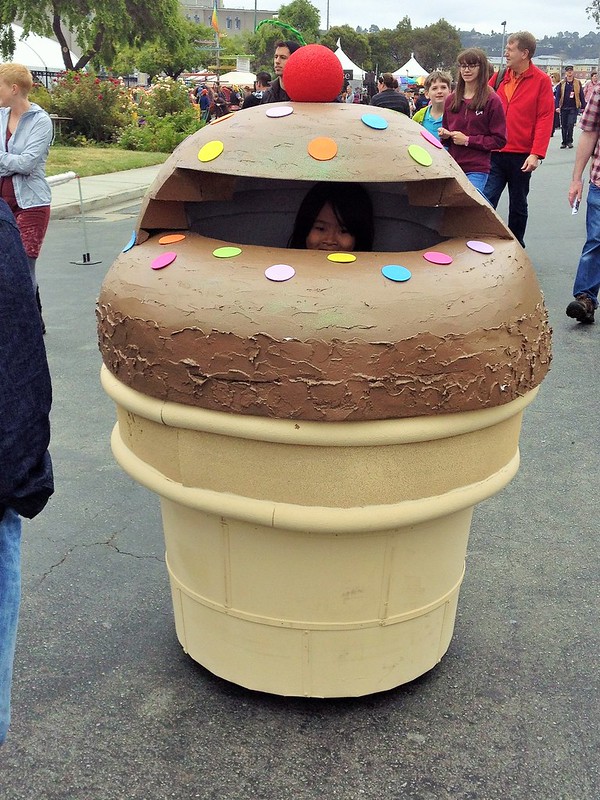
That wasn't the only motorised vehicle.
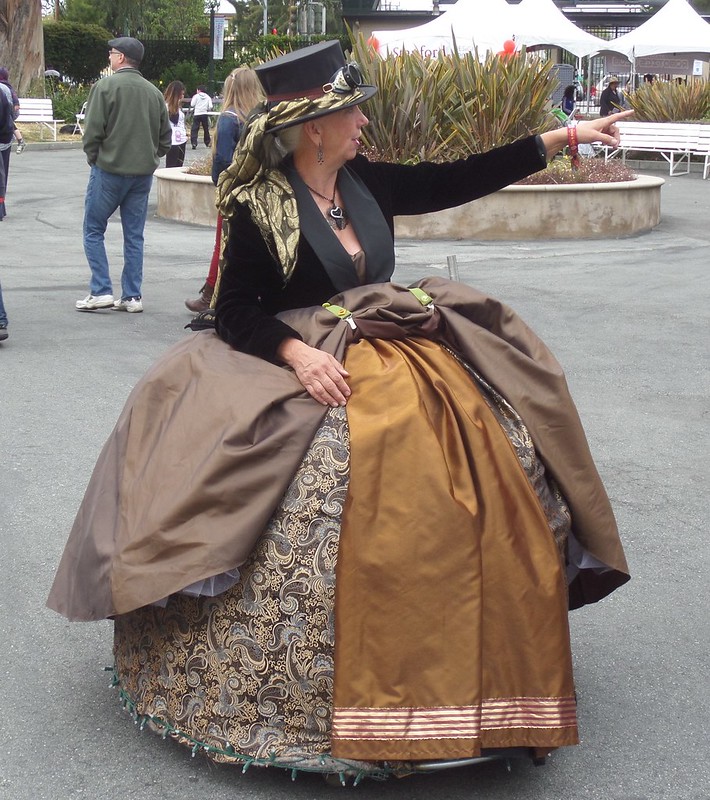
Motorised Cupcake
And then...
Steampunk Woman in motorised wheelchair

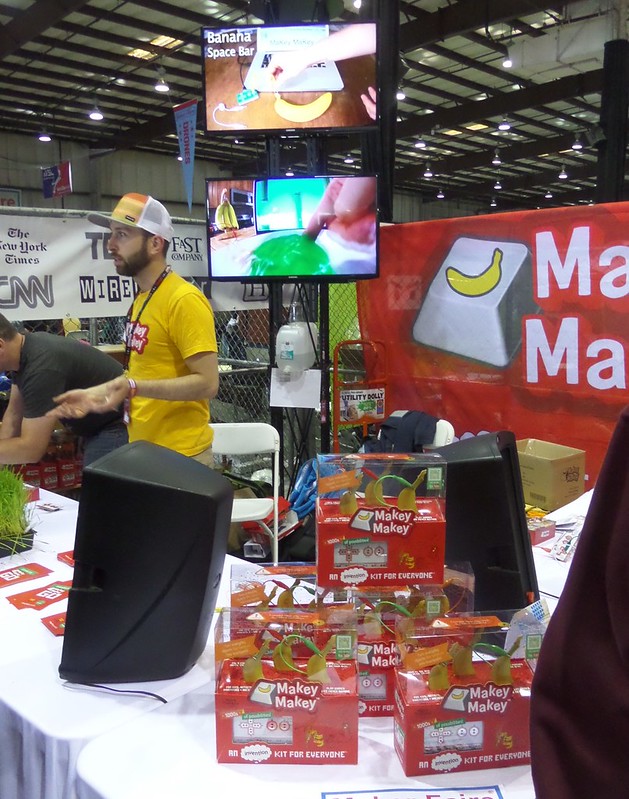
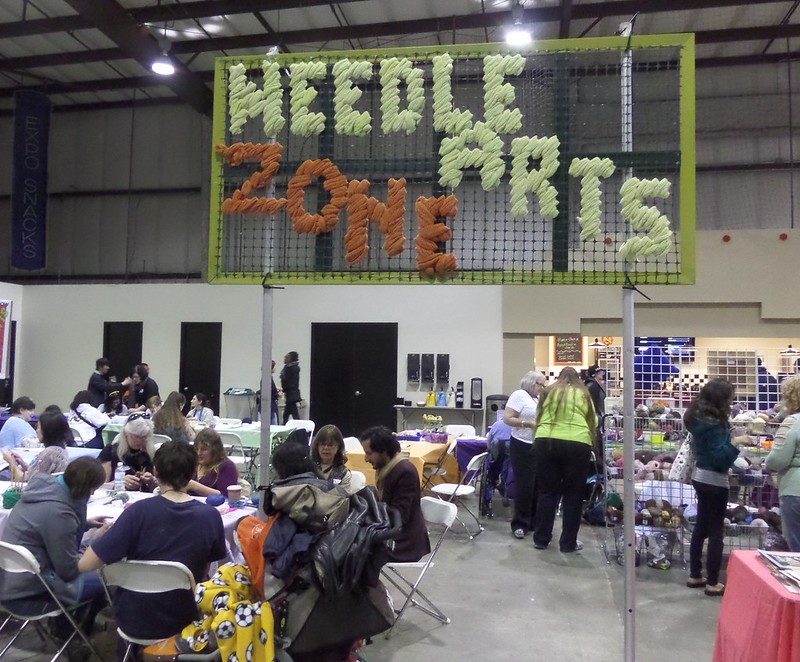
Different zones focussed on different types of Making. 3-d printing had a big presence as did wearable LEDs and other light forms. Lego was well represented as was laser cutting and kickstarter type start ups such as - god bless america - a way to turn inanimate objects into musical instruments.
Musical Food
In the video monitor you can see jelly being demonstrated and they had some bananas and some fake grass which people could try out on their stand.

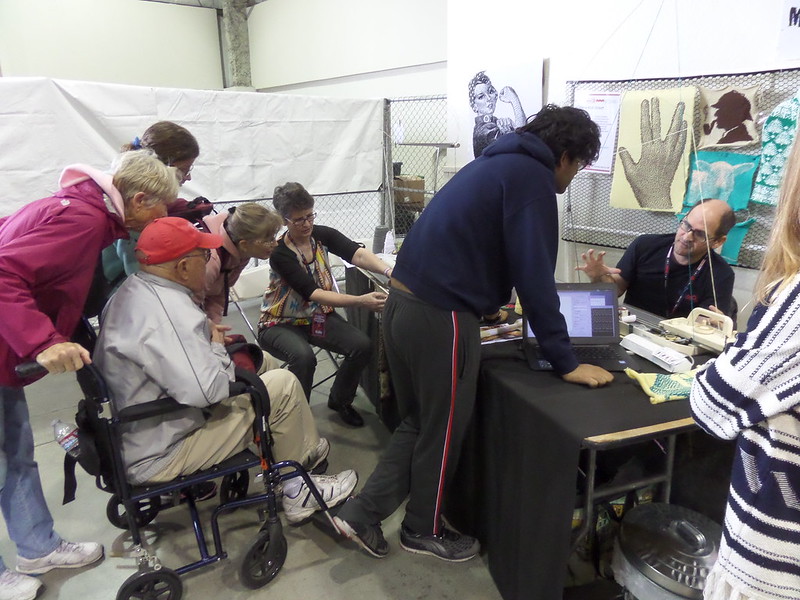
Those people who remember when MAKE magazine started (ten years ago) will also remember it had a sister publication called CRAFT. Sadly that seems to have died a death but there was still some 'craft' going on. Machine knitting of course.
Knitting Machines
Plus a delightful...
Needle Arts Zone Sign
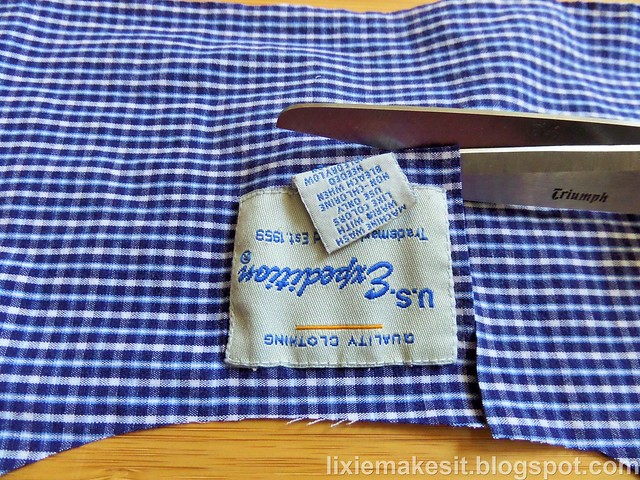
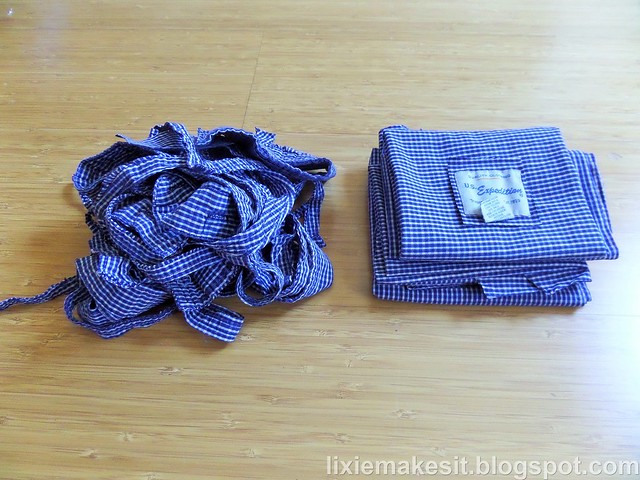
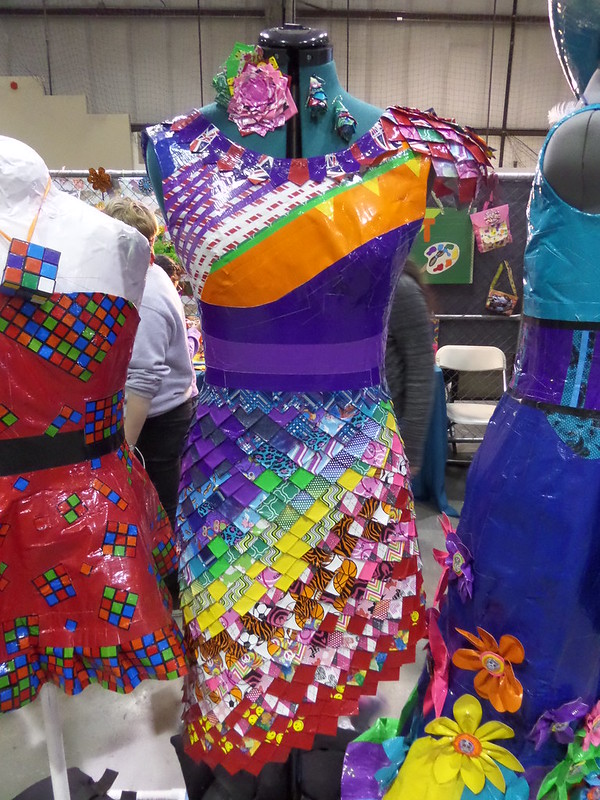
I also now know even more than I did before about making clothes from duct tape.
Duct Tape Crafts
And I already knew a fair amount having made three tailor's dummies for three of the SkipNorth attendees.

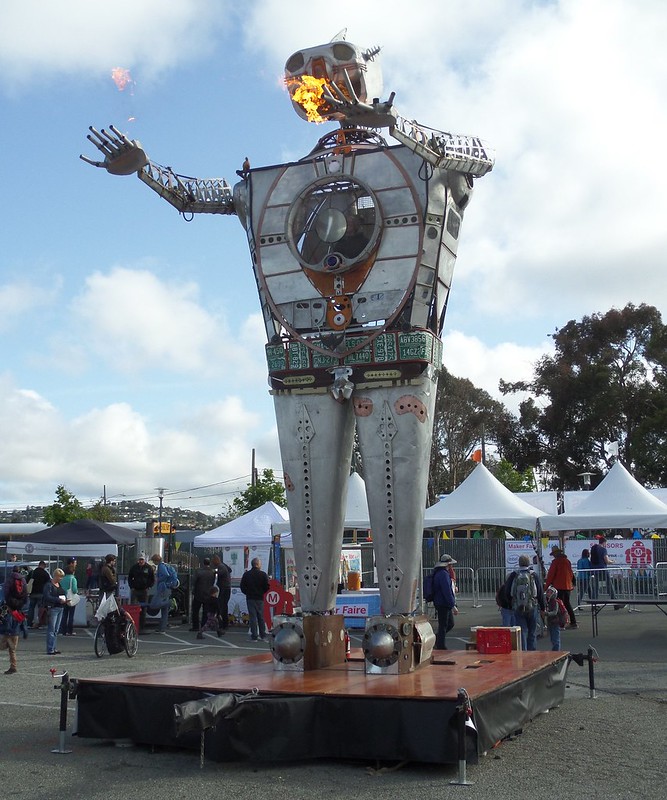
There were also several fire blowing beasties, including this huge guy who had a woman standing inside him making his bits move and flame.
Giant Metal Man
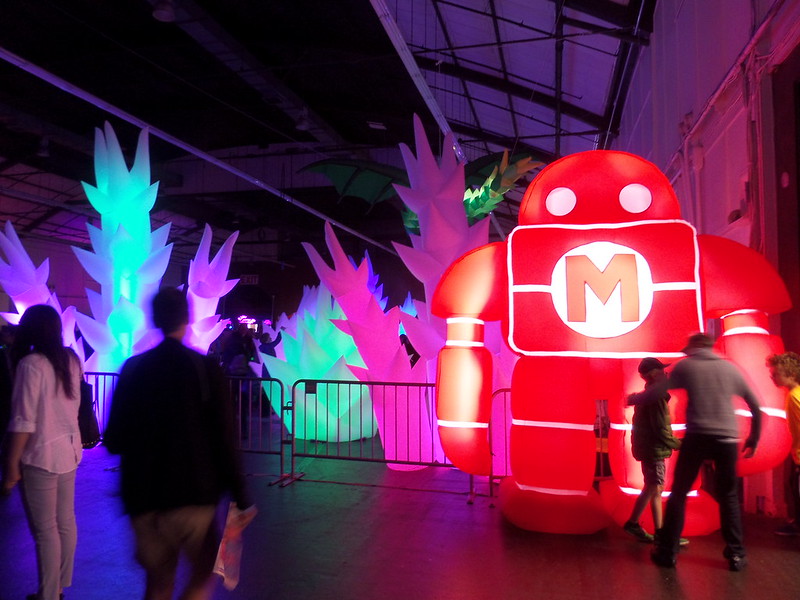
There was also a giant metal flaming snail on wheels. One of the zones was kept dark to make the most of the illuminated Makers.
Inflatable Illuminations and Makerbot
That is an inflatable forest. As if you didn't know.

The whole thing was quite incredible and there are lots more photos online from me and others. Their official website shows there are events happening world wide and I would strongly recommend you go and take the whole family. At this one there were special kid zones and the only times I heard crying was when kids were being told they had to move on to another Zone.